How to create "WiREFRAME" graphics in Unity3d
I've received many requests to describe how I achieve the wire-frame graphics in Vecter. Since I need to make a new in-game object, I thought I'd document the process for all those curios. I would like to start with the disclaimer: this is not true wireframe, since that's a technology that pretty much died in the 80's. With that out of the way, here's what you'll need to follow along:
- Blender - Pretty much any new-ish version
- Unity3d - Pretty much any new-ish version
And here's what we're making:
It's an easy and straightforward procedure, so don't threat. I'll be walking you every step of the way. What I'm trying to create is a wireframe-looking pyramid to act as a power-up in game. Let's start by creating that.
- Open up blender in an empty project / scene.
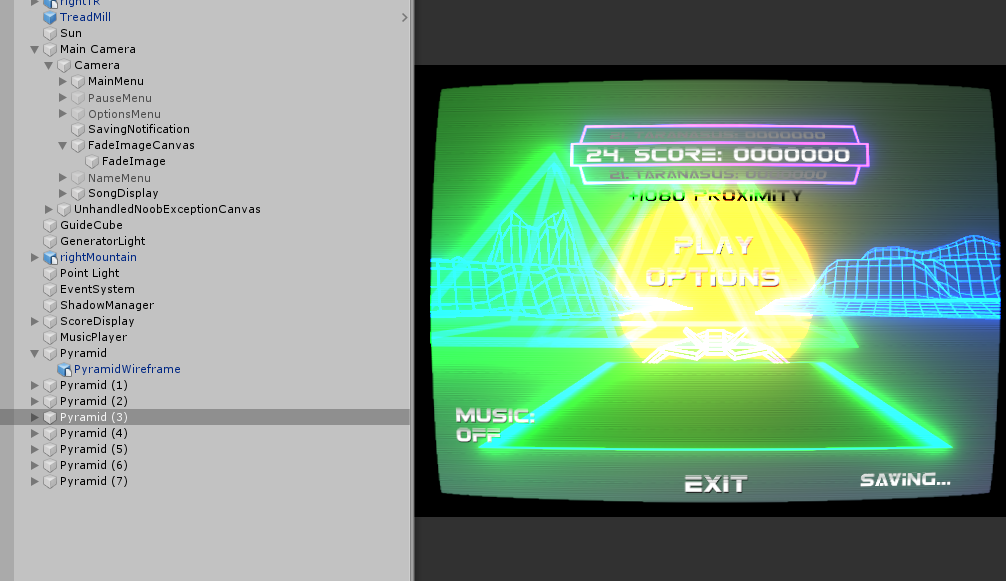
- Delete all the unnecesary assets from the scene, leaving only the cube
- Now with the cube selected, you're going to want to press TAB to enter edit mode. Right
click one of the top corners of the cube and with the SHIFT key pressed down, select the
other three corners. Press ALT+M and then select "At Center"
- We have our pyramid, but it isn't quite wireframe. Before getting to make it into a wireframe, let's first export this pyramid. You'll see why later.
- Select File -> Export -> FBX -> Select the Desktop as it's easier to find -> Name the
object PyramidFilling.fbx -> Click the Export button
- We now have our filling,so onto the good stuff. If you're still in edit mode on the
pyramid object, press TAB to exit and have the whole object selected. Now in the panel
on the right press the little Wrench button. From the "Add modifier" dropdown list
select Wireframe. Increase the thickness to 1.2 and press the "Apply" button.
- Now that looks more like Wireframe, we're getting there. To export the wireframe object,
follow the steps two bullet points above. Name this one PyramidWireframe.fbx
- Cool, now that we have our 3D models. Let's import them in Unity! To be honest, this is
a very simple drag and drop operation. I have a folder in my Unity project called 3D
Models for all the 3D assets and I'd recommend you have one too. Make sure to keep
things neat and tidy.
- Create an empty gameobject in your game, name it pyramid, and drag and drop the
wireframe model only first.
- This step is optional, but I like to see the item in the actual game camera. To do that,
move the item into frame so you can see it inside of the game tab.
- Now that our subject is in view, let's apply a material to it, so we can actually see
it. The bloom / glow effect is a whole different subject and not covered in this
tutorial. Feel free to use any material that's a visible color. I'm using a material I
already have made and am dragging it onto the object. If you want to learm more about
bloom, let me know, and I'll make it into a future tutorial.
- Now we have the closest thing to a wireframe object. The problem is, if you have a lot
of these transparent elements in your scene it will create confusion:
What is even happening? We're going to want to give it substance. This is where we use the PyramidFill object. Drag it onto our Pyramid game object.
And there you have it! Fake wireframe graphics! Doing this can become very costly though. When you're using complex models, each one of the "wireframes" has of more polygons than a normal object. If you do decide to make a game like this one, be mindful snd try to keep your model complexity down.
As I don't need this particular object to be opaque, I've removed the PyramidFill element from it so now it's formed of the wireframe only:
Now by exploiting that technique you can get some pretty interesting items:
See? I told you that wouldn't hurt. Now off you go and make some 80's style retro futuristic art of your own!
Arrived here from the Google? Have a look at my game by clicking the Home button at the top. Maybe, you'll like it
